📸 The Magazine For Photographers - Bite Size
Read the Latest Photography News and Updates in the Creative Industry in 3-4 minutes or less ;)
In partnership with

Important note: All photography articles are NOT sponsored
The Latest News:
New Canon R6 Mark III Leaks
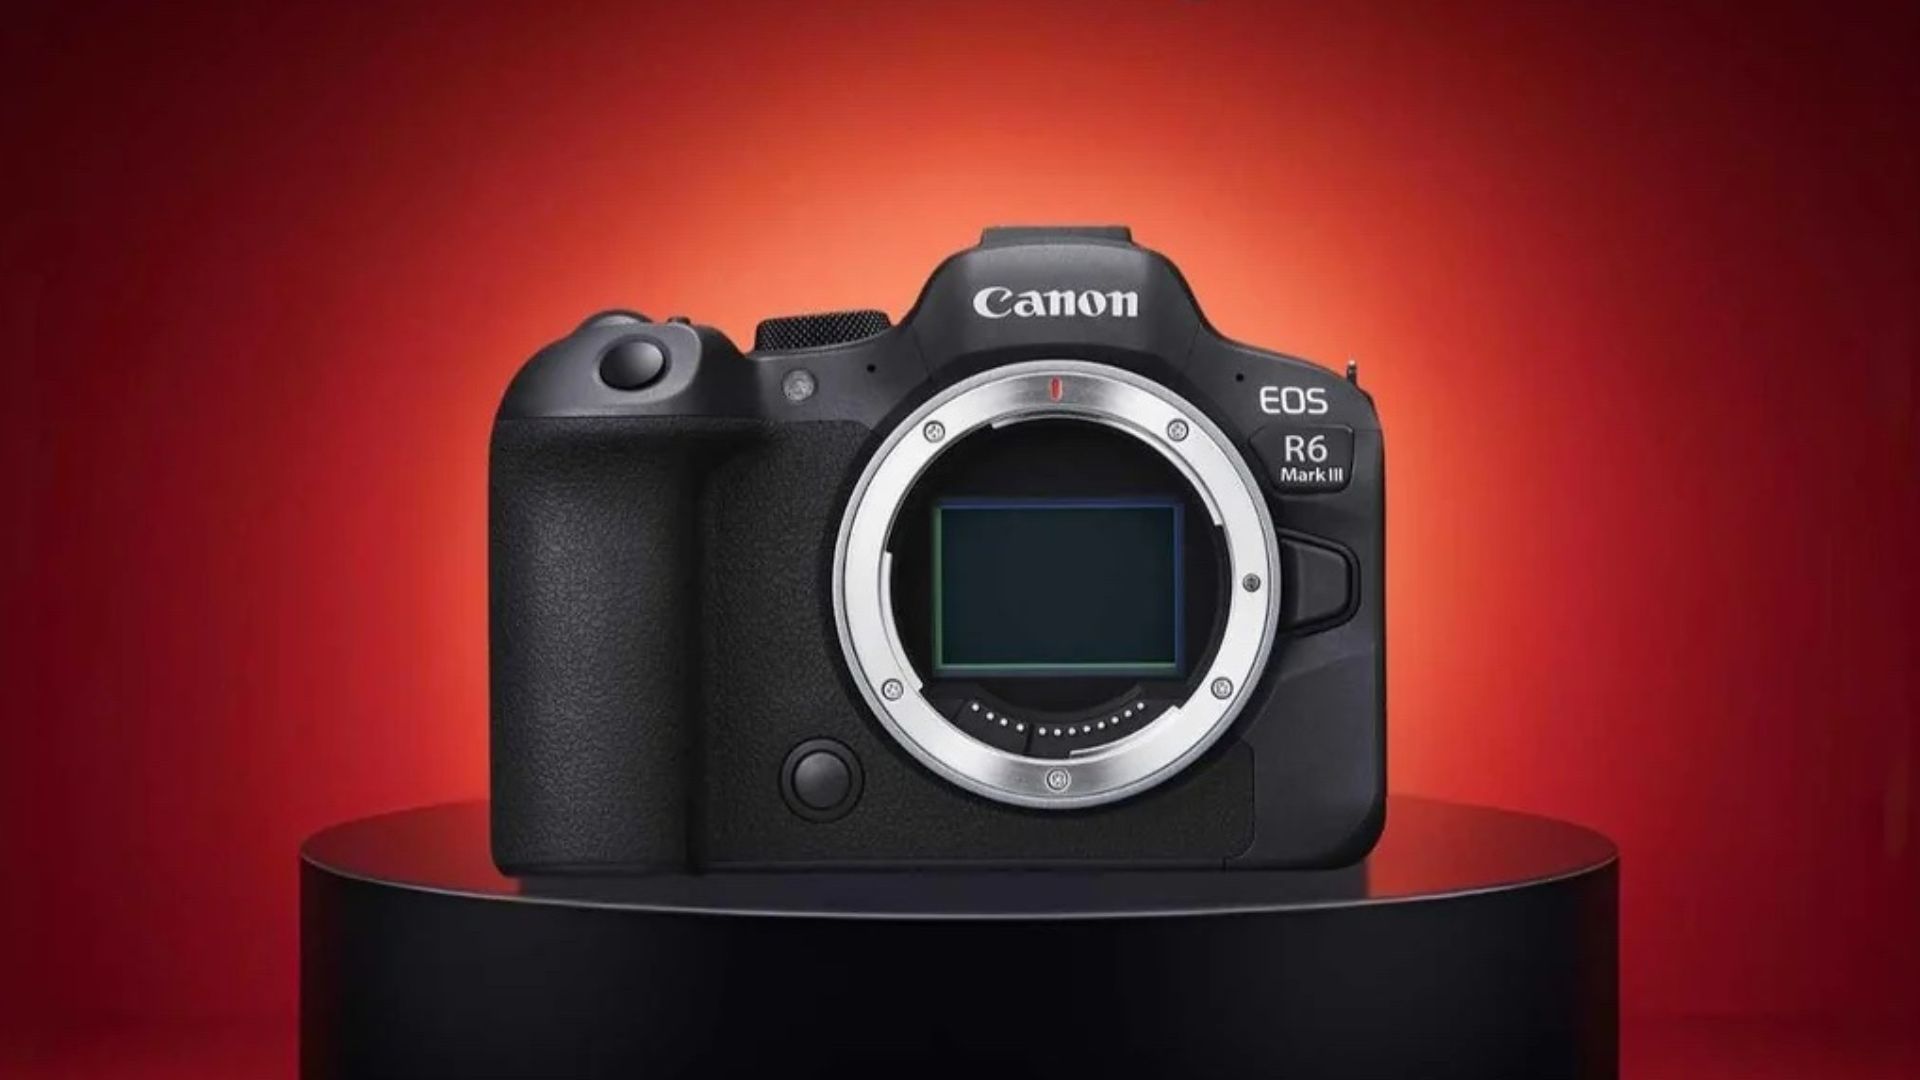
credits: Canon
The Canon EOS R6 Mark III looks set to make its debut soon, with the first leaked image (shown above) giving us a glimpse of Canon’s next mid-range full-frame camera. According to multiple leaks, the announcement is expected on November 6, 2025, with shipping likely to follow later that month. The design seems familiar, but internally, Canon appears to have made some big changes. At its core, the R6 Mark III will reportedly feature a 32-megapixel full-frame CMOS sensor paired with the Dual Pixel CMOS AF II system. Autofocus performance is expected to improve, with support for subject detection across people, animals, and vehicles, and the ability to store up to 100 faces.
Leaked specs also suggest that the camera will deliver 40 frames per second using its electronic shutter, backed by 6.5 stops of in-body image stabilisation. For video, Canon is rumoured to include 7K RAW Open Gate recording and 7K DCI RAW in 12-bit, alongside oversampled 4K and Full HD modes. A new “S&F” (Slow & Fast) mode on the dial will let users quickly switch between different frame rate multipliers, and there is talk of pre-capture functionality and Canon Log 2 and Log 3 profiles for greater flexibility in post-production. The EVF may also get an upgrade to a 5.76-million-dot OLED panel, putting it in line with other recent high-end Canon models.
Other notable features include a full-size HDMI port, dual memory card slots (CFexpress Type B and SD UHS-II), and support for 24-bit audio. The camera will likely use the LP-E6P battery, feature a magnesium alloy body, and skip active cooling, making it a continuation of Canon’s traditional R6 design. Pricing is rumored to sit at around €2,899 / $2,899, which would make it roughly the same as its predecessor at launch.
Cheecar’s New 50mm f/1.2 APS-C Lens

credits: Cheecar
Cheecar has introduced a new 50mm f/1.2 lens for APS-C cameras with fluorescent markings that make it easier to read the aperture and focus scales in low light. The lens uses a 5-group, 7-element optical design and an 11-blade diaphragm, aiming to produce smooth background blur and consistent image quality across the frame. Built entirely from metal, it has a traditional manual-focus design and a stepped aperture ring that gives a clicky feel when adjusting exposure settings.
The 50mm f/1.2 has a minimum focusing distance of 0.7 meters, so it is better suited for portraits or general everyday shooting rather than close-up work. Its bright maximum aperture is useful for low-light scenes or getting the shallow depth of field look, while the 52mm front filter thread makes it easy to use with common filters. Since it is a manual lens, there is no electronic communication with the camera, you will be setting both focus and aperture yourself.
Cheecar is releasing the lens for several popular mounts, including Sony E, Nikon Z, Canon RF-S, Canon EF-M, Fujifilm X, and Micro Four Thirds, so it should fit into most APS-C setups. The lens is priced at $79.00 and, for now, appears to be available exclusively through eBay, as Cheecar sells directly from China.
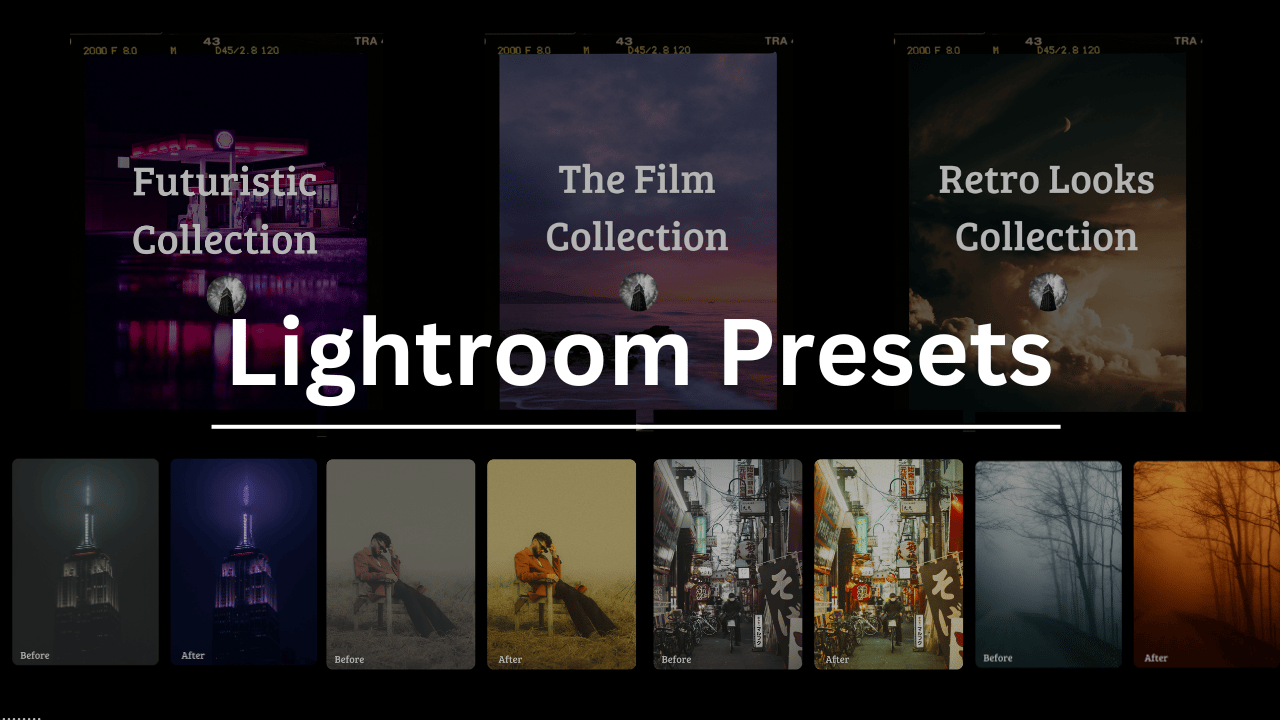
Download The World’s Best Lightroom Presets
Something You Have To Check Out
Trusted by millions. Actually enjoyed by them too.

Most business news feels like homework. Morning Brew feels like a cheat sheet. Quick hits on business, tech, and finance—sharp enough to make sense, snappy enough to make you smile.
Try the newsletter for free and see why it’s the go-to for over 4 million professionals every morning.
Weekly Photo Technique Exploration
Welcome to a new section of the magazine where every week we will explore a new photography technique from across various photography genres.
This week’s technique: Exposure Stacking
Stephen Hamm
What Is Exposure Stacking?
Exposure stacking, sometimes called exposure blending, is when you take several photos of the same scene at different exposure levels (one brighter, one darker, one in between) and then you merge them into a single photo and you keep detail everywhere. Basically, instead of picking one “correct” exposure, you take a few and get the best parts from each. It is a very close cousin of HDR (High Dynamic Range) photography, which I have covered before, but exposure stacking usually gives a more natural look because you are manually blending the exposures rather than letting the camera or software do it automatically.
How It Works
It is actually pretty simple, you lock your camera on a tripod and take a series of shots, all 100% identical except for exposure. For example:
One underexposed (for highlights, like the sky),
One correctly exposed (for midtones),
One overexposed (for shadows and darker details).
Then, you combine them later in post using layer masks in Photoshop (or Lightroom, Photomatix, or Luminar etc.). The final image blends those exposures together so nothing is too dark or too bright.
What You Need
A camera that shoots in manual mode or exposure bracketing
A tripod, so your shots align perfectly
Photo editing software that supports layers or HDR merging
Optional but helpful, a remote shutter or timer, just to avoid shaking the camera between shots.
How to Shoot
Set up your camera on a tripod —> Keep in mind that the composition can’t move
Use manual mode —> Lock in your aperture and ISO, and ONLY adjust the shutter speed between shots.
Take at least three exposures —> One normal, one a stop or two darker, one a stop or two brighter. You can of course take more if you want super fine control.
Keep your focus locked —> You do not want your depth of field changing between shots.
If your camera has auto bracketing (AEB), turn that on, it will shoot multiple exposures in one go, so you don’t even have to touch the settings between shots.
How to Blend Them
In Photoshop (manual blending):
Open your photos as layers in one file.
Add black masks to your top layers.
Use a soft white brush to “paint” in the parts you want from each exposure (like bringing in a properly exposed sky from one shot, and brighter foreground details from another).
Adjust the opacity and edges until it looks natural.
In Lightroom or other software:
Use the “HDR Merge” feature, however tone it down, avoid the fake, crunchy HDR look.
When This is Useful
Landscapes: A classic, you can expose separately for the sky, ground, and shadows to get full detail.
Architecture: Here it keeps interior detail visible without blowing out windows or lights.
Nighttime photos: You can combine bright and dark frames to balance light trails or stars with darker surroundings.
The Rest of this Issue is for Premium Subscribers
