📸 The Magazine For Photographers - Bite Size
Read the Latest Photography News and Updates in the Creative Industry in 3-4 minutes or less ;)
In partnership with


Important note: All photography articles are NOT sponsored
The Latest News:
NiSi’s Ultra Wide 16mm f/2.8 ASPH Lens

credits: NiSi
NiSi’s new ultra wide 16mm f/2.8 ASPH lens for Fujifilm GFX and Hasselblad XCD medium format cameras is here. With a full-frame equivalent focal length of roughly 12.6mm and a 118-degree field of view, it is one of the widest native lenses currently available for these systems. Built for today’s 100MP medium format sensors, the lens is designed to deliver high resolution across the frame while remaining relatively compact, measuring 108mm in length and weighing around 835g. It also features a weather-sealed metal body and a standard 82mm filter thread.
On the inside, the lens uses a 16-element, 12-group optical design, including three aspherical elements and four ultra-low dispersion elements to help reduce distortion, chromatic aberration, and other optical issues. NiSi says the lens offers APO-level chromatic aberration control, helping keep both axial and lateral colour fringing to a minimum, even at f/2.8. The fast maximum aperture also makes it well suited for astrophotography, with the optical design meant to keep coma under control for better looking stars. Other key specs include an 8-blade aperture, which produces clean 8-point sunstars from f/4 to f/22, a minimum focusing distance of 0.25m, and 0.12x maximum magnification.
The lens is fully manual, featuring a 180-degree focus throw for precise focusing and a clicked aperture ring for direct aperture control. NiSi has also applied its SA+ anti-reflection coating, along with a durable protective coating that helps resist water, oil, and fingerprints. The NiSi 16mm f/2.8 ASPH for Fujifilm GFX and Hasselblad XCD mounts is priced at $1,399.
You can see full details and sample shots on NiSi’s website here
Godox’s New Lux Junior II Flash

credits: Godox
Godox has announced the Lux Junior II, an updated version of its retro-inspired compact flash that adds several new features while keeping the same classic look. The biggest upgrade is a new dual-axis design, making it much easier to bounce flash whether you are shooting horizontally or vertically. It also adds TTL metering, a built-in rechargeable battery, wireless receiver functionality, and a hybrid hot shoe that works with multiple camera systems. The flash is available in two version, the standard Lux Junior II for Canon, Nikon, Fujifilm, OM System, and Panasonic cameras, and the Lux Junior II S, which is designed specifically for Sony cameras.
The flash is built to work with both digital and film cameras. Digital photographers get TTL automatic exposure, along with manual and multi-flash modes, while film shooters can continue using the built-in AUTO mode, which automatically adjusts flash output based on the camera’s ISO and aperture settings. There is also a 2.5mm sync port for compatible film cameras with PC sync connections. The new dual-axis design allows the flash body to rotate up to 180 degrees, while the flash head tilts upward by 90 degrees with several locking positions. Godox also includes a full CTO filter, half CTO filter, and a magnetic diffuser.
Unlike the original model, the Lux Junior II now has a built-in 2.4GHz wireless receiver that is compatible with the Godox X wireless system for off-camera flash setups, although it can only act as a receiver. Power comes from a built-in 7.4V, 700mAh rechargeable lithium battery, which charges via USB-C and is rated for around 400 full-power flashes with recycle times as fast as 1.5 seconds. Other features include high-speed sync up to 1/8,000 second, front and rear curtain sync, flash exposure compensation from -3 to +3 EV, manual power adjustment from full power down to 1/128, and flash durations ranging from 1/1,000 to 1/30,000 second. Sony users also get global shutter synchronisation on compatible cameras. Weighing 153g, the Godox Lux Junior II and Lux Junior II S are priced at $79.
You can see full details on Godox’s website here
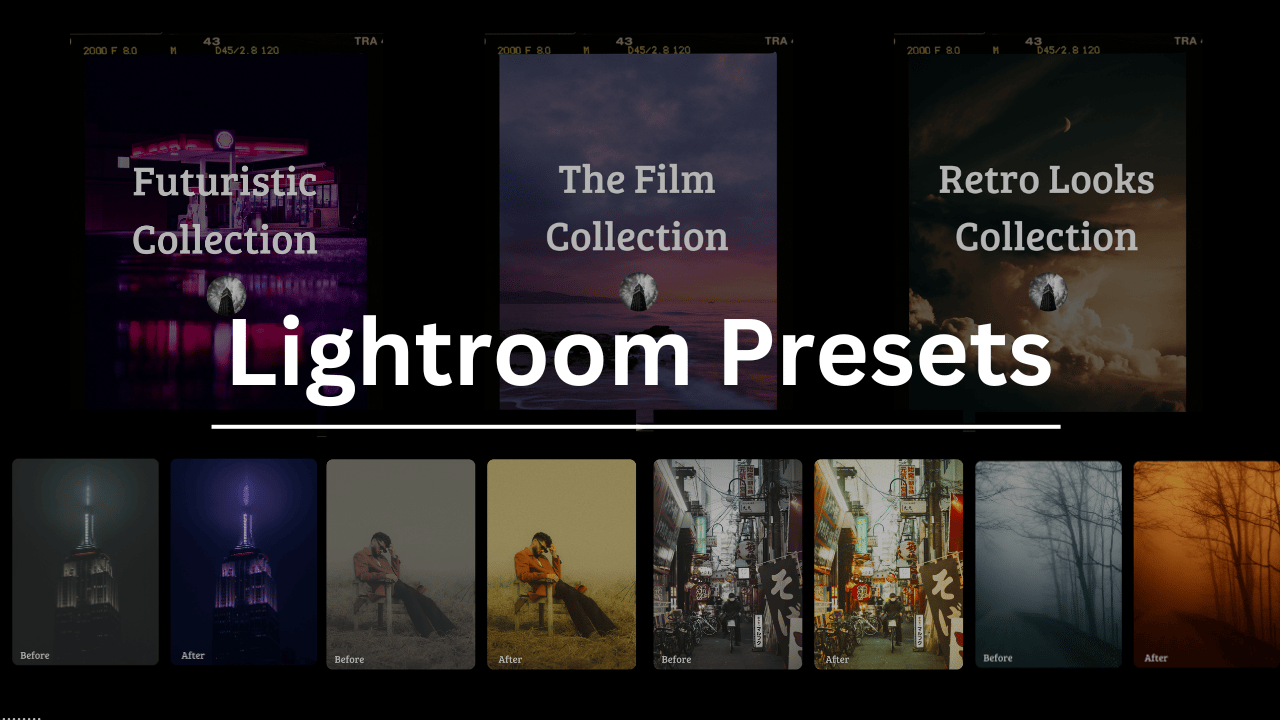
Download The World’s Best Lightroom Presets
Something You Have To Check Out
Free email without sacrificing your privacy

Gmail is free, but you pay with your data. Proton Mail is different.
We don’t scan your messages. We don’t sell your behavior. We don’t follow you across the internet.
Proton Mail gives you full-featured, private email without surveillance or creepy profiling. It’s email that respects your time, your attention, and your boundaries.
Email doesn’t have to cost your privacy.
Weekly Photo Technique Exploration
Welcome to a new section of the magazine where every week we will explore a new photography technique from across various photography genres.
This week’s technique: Freelensing Photography

Moss Len

Adam Brave

Egorhe Martin
What Is Freelensing?
Freelensing (sometimes called the “lens whack” technique) is when you disconnect your lens from your camera and hold it slightly away from the mount while shooting. That small gap (which you can now play around with) between the lens and camera lets light sneak in and cahnges the plane of focus, creating soft, dreamy photos with wild blur and shallow depth of field.
Why Use It?
→ To get a dreamy, film-like look in-camera (as you can see I included several photos up top, all shot with the freelensing technique)
→ To create creative blur and light leaks and tilt shift effects
→ For very shallow depth of field and selective focus
→ Because it is a fun way to break the rules and surprise yourself and experiment (arguably the most important point ;))
What You Need
A DSLR or mirrorless camera
A manual focus lens, ideally something like a 50mm f/1.8
A willingness to experiment and maybe get a little dust on your sensor (we will talk about that in a second)
A little tip: Do not use your best or most expensive lens for this. You are going to be exposing it to air and dust (if you are very flimsy you might even drop it), so stick with a “beater” lens you do not necessarily mind handling a bit roughly.
How to Actually Do It
Detach the lens from your camera.
Hold the lens just in front of the mount, keeping it close but not locked in.
Tilt the lens around while looking through the viewfinder or screen. You will start to see the focus change in interesting ways.
Adjust distance and tilt to control which parts are in focus.
Shoot in manual mode and focus manually, autofocus will not work.
If possible, use Live View → it will help you see what is going on without you having to mash your face to the viewfinder.
You will probably get some light leaks and vignetting, and focus might be razor-thin in some spots. That is all part of the charm though.
What to Watch Out For
Dust → Your sensor is exposed during this, so try to avoid windy or dusty environments. Clean your gear after too.
Lens drops → You are holding your lens with one hand and your camera with the other, so be careful!
Light leaks → Intentional, yes, but they can be very strong depending on the angle and ambient light.
Exposure → With modern cameras, your light meter might freak out. Use trial and error or check your histogram.
Freelensing Tips
→ Start with a 50mm lens. It is a good, flexible focal length.
→ Shoot wide open (f/1.8, f/2) (Shallow depth of field really enhances the effect).
→ Try it for portraits, nature or street scenes. It can work with anything.
*advertisement (please check it out to support the magazine)
How Jennifer Aniston’s LolaVie brand grew sales 40% with CTV ads

The DTC beauty category is crowded. To break through, Jennifer Aniston’s brand LolaVie, worked with Roku Ads Manager to easily set up, test, and optimize CTV ad creatives. The campaign helped drive a big lift in sales and customer growth, helping LolaVie break through in the crowded beauty category.
The Rest of this Issue is for Premium Subscribers
