📸 The Magazine For Photographers - Bite Size
Read the Latest Photography News and Updates in the Creative Industry in 3-4 minutes or less ;)
In partnership with

Important note: All photography articles are NOT sponsored
The Latest News:
Light Lens Lab’s New 50mm f/1.9 Lens

credits: Light Lens Lab
Light Lens Lab has announced a new 50mm f/1.9 “Rigid-ZS6” (Super Six) lens for Leica M-mount, adding another option to its Rigid Series. The lens is built around the original “Super-Six” double-Gaussian optical formula, using a 6-element, 4-group design with full-frame coverage. The goal seems to be keeping that older rendering style, especially in terms of bokeh and colour, while making some adjustments so it works a bit better on modern digital sensors, particularly with improved centre sharpness.
There are two versions of the lens. The standard Rigid-ZS6 with a more balanced look, while the Rigid-ZS6* (marked with an asterisk) is a low-contrast version that holds onto more highlight and shadow detail and leans more toward a film-like rendering. Both share the same core specs, including an f/1.9 to f/22 aperture range with a preset diaphragm and half-stop clicks. The focus range runs from 0.7 meters to infinity, and it uses a quick-change M-mount bayonet system.
In terms of size and build, it is fairly compact, coming in at 45mm long and 54mm in diameter, and weighing around 263 grams. The lens uses a brass outer barrel with aluminium and brass internals, and it takes E39 filters, with support for an optional A42 clip-on hood. Pricing is set at €695.95/$750.
You can see full details and sample shots on Light Lens Lab’s website here
The Latest Canon EOS R6 V Rumours

credits: Canon
A bunch of new details about the Canon EOS R6 V have started to come out, and they change quite a bit compared to the earlier rumours. At first, it sounded like Canon might strip things back, especially when it came to stabilisation and cooling. Now, the newer info points in the opposite direction, with the camera actually getting features that make it look like a much more serious hybrid body.
One of the bigger updates is IBIS, which is now expected to deliver up to 7.5 stops of stabilisation. That is a pretty significant addition, especially for handheld shooting, and it would separate it from something like the Cinema EOS C50. Cooling has also taken a turn. Instead of just passive vents, the EOS R6 V is now rumoured to include active cooling with a built-in fan, offering three speed settings (low, medium, high). In terms of video, things look quite ambitious, with 7K RAW recording up to 60fps, and Open Gate 7K at 30fps, although it is still unclear if 60fps will be available in Open Gate. Support for Canon Log 2 and Log 3 is also expected.
On the photo side, the camera is said to use a 32.3MP full-frame CMOS sensor, which puts it into higher resolution territory compared to previous R6 models. It is paired with 1,053 autofocus points, likely using Canon’s latest subject detection and tracking. The ISO range of 100–64,000 (expandable to 50–102,400) suggests solid low-light performance. The body itself comes in at around 598 grams, with a 3-inch 1.62-million-dot display, weather sealing, and a redesigned grip inspired by the EOS R1 for better handling. The EOS R6 V is expected to be priced at around $2,800, putting it slightly below the rumoured R6 Mark III.
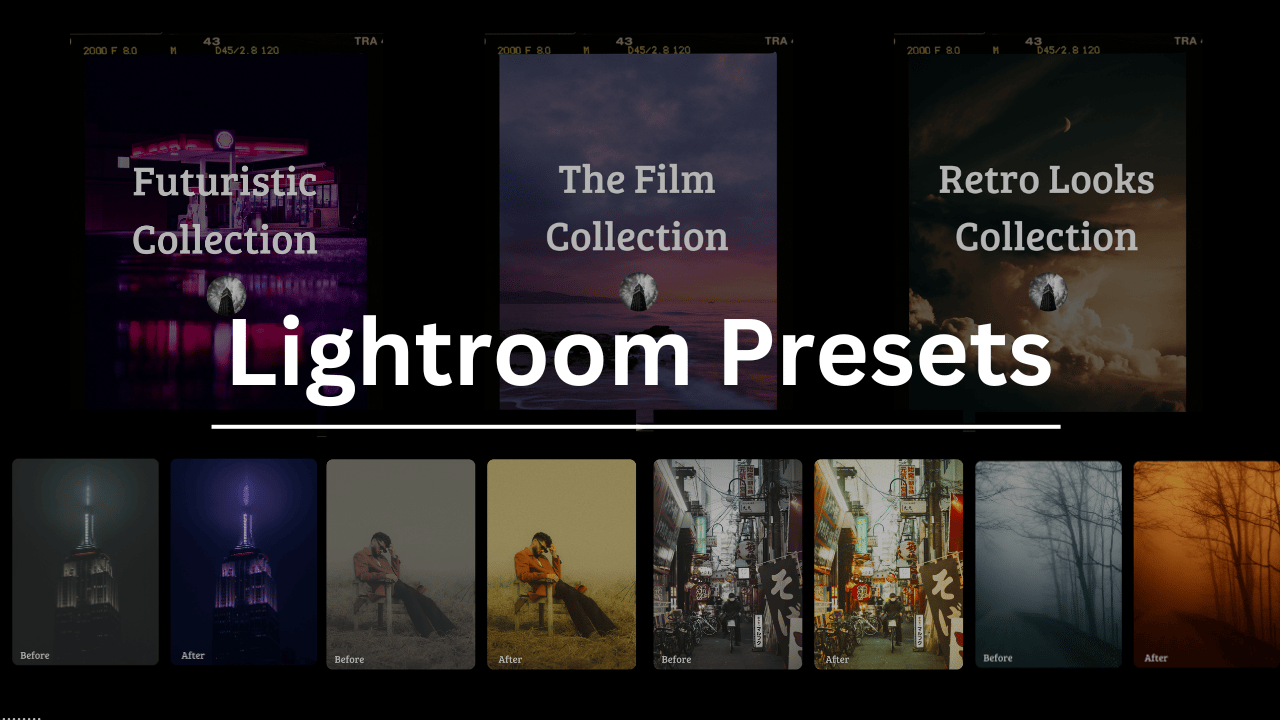
Download The World’s Best Lightroom Presets
Something You Have To Check Out
Master ChatGPT for Work Success

ChatGPT is revolutionizing how we work, but most people barely scratch the surface. Subscribe to Mindstream for free and unlock 5 essential resources including templates, workflows, and expert strategies for 2025. Whether you're writing emails, analyzing data, or streamlining tasks, this bundle shows you exactly how to save hours every week.
Weekly Photo Technique Exploration
Welcome to a new section of the magazine where every week we will explore a new photography technique from across various photography genres.
This week’s technique: Solarisation Photography

Armin Kübelbec

Nevit Dilmen

Thomas Good

Damien Schmitt
What Is Solarisation?
Solarisation (also known as the Sabattier effect) happens when you partly expose a developing photo or film to light, and then continue developing it. Instead of ruining the photo completely (which exposure to light normally does), it reverses the tones in certain areas → blacks turn silvery, highlights go darker, and you get glowing outlines around shapes.
Back in the film days, it was a happy accident. Someone accidentally turned on the light in the darkroom in the middle of development, and instead of tossing it, they realised it actually looked pretty good.
Today, you can do it digitally too of course, but the vibe is not really the same (we will take a look at how to do it digitally too, of course ;)).
How It Works (Analog Version)
In traditional film photography, here is roughly what you want to do:
You start developing your photo like normal in the darkroom.
Midway through development, you briefly expose it to light (just a tiny bit, maybe half a second).
You then keep developing as usual.
That is it! Some parts will stay normal, others flip their tones, and everything goes a bit more metallic.
You can look at it as ‘controlled sabotage’. You are messing with the chemical reaction while it is happening, and every small change in timing, light strength, exposure will affect the result. That is precisely why no two solarized photos ever look exactly the same.
Doing It Digitally
You can also create a similar effect in Photoshop (or any photo editor that lets you handle curves and blending). As I mentioned before, it is not exactly the same as a chemical solarisation, but it is a fairly good digital spin.
Open your photo in Photoshop.
Duplicate the layer.
Invert the top layer (Cmd/Ctrl + I).
Change the blending mode to Overlay or Soft Light.
Change the Curves to adjust contrast and tone until you get the desired look (best check out some solarised photos online)
What It Looks Like
Solarised photos tend to look a bit ‘‘otherworldly’’, you can see a few example up top. It works especially well with portraits and high-contrast subjects because you can really see the inversion in the details.
Black & White vs Colour
You can do both but they tend to give you completely different results.
Black & White Solarisation
This is undoubtedly the classic look, closest to the original darkroom technique.
You get → strong, graphic contrast, clean tonal transitions, emphasis on shape, light, structure, and it just feels much more timeless.
If you are unsure where to start, definitely go black and white. It is more forgiving and usually looks more refined.
Colour Solarisation
When you do solarisation in colour, it gets a lot more experimental and unpredictable.
Colours can can change in weird ways
Highlights can turn into strange hues
Skin tones can look super unnatural
→ Everything looks much more abstract and chaotic (but that can of course also be the goal)
Tips for Better Results
The effect works best when your photo already has strong light and dark areas.
Watch highlight clipping carefully if you edit.
Solarisation is unpredictable by nature. The “mistakes” are often what make it interesting, so do not go for perfection and keep in mind that you will have to try a few times until you get something usable.
*advertisement (please check it out to support the magazine, it only takes a second and truly helps a lot)
How Jennifer Aniston’s LolaVie brand grew sales 40% with CTV ads

The DTC beauty category is crowded. To break through, Jennifer Aniston’s brand LolaVie, worked with Roku Ads Manager to easily set up, test, and optimize CTV ad creatives. The campaign helped drive a big lift in sales and customer growth, helping LolaVie break through in the crowded beauty category.
The Rest of this Issue is for Premium Subscribers
