📸 The Magazine For Photographers - Bite Size
Read the Latest Photography News and Updates in the Creative Industry in 3-4 minutes or less ;)
In partnership with

Important note: All photography articles are NOT sponsored
The Latest News:
Laowa’s Upcoming Fisheye Zoom Lens

credits: Laowa
Laowa’s new 4.5–10mm f/2.8 fisheye zoom made its first public appearance at the Beijing P&E Imaging Fair, and it is a pretty unusual lens. Ultra-wide fisheye zooms are already a niche category, but this one goes even further with a very wide focal range combined with a relatively bright constant f/2.8 aperture.
The lens covers a focal range of 4.5mm to 10mm and delivers a field of view ranging from 180 degrees at 4.5mm down to 175 degrees at 10mm. Optically, it uses a 13-element, 9-group design with an image circle diameter of 29mm. The lens is fully manual focus and includes a 77-degree focus ring throw, along with 75 degrees of zoom rotation and 42 degrees of aperture ring travel. Minimum focusing distance is pretty close at 10cm, allowing for exaggerated foreground perspective and close-up fisheye compositions. Maximum magnification reaches 0.27x.
Physically, the lens stays relatively compact, it measures 68.9mm × 59.3mm and weighs around 330 grams. The lens uses a 7-blade aperture diaphragm and offers an aperture range from f/2.8 to f/22. Laowa will release the lens for a wide range of mirrorless systems, including Sony E, Fujifilm X, Nikon Z, Canon RF, Canon EF-M, L-Mount, and Micro Four Thirds. Right now though, we only know that the CF 4.5-10mm F2.8 is coming, there is still no exact release date or official pricing (sources say it will probably come in at around $400).
New Leica Q3-Series Firmware Update

credits: Leica
Leica has released firmware version 4.1 for the Q3, Q3 Monochrom, and Q3 43, with the update mostly focusing on autofocus behaviour, playback improvements, and a few smaller workflow fixes. Compared to some of Leica’s bigger firmware releases, this one is more about refining how the cameras behave during everyday use rather than adding major new features.
One of the biggest changes is in playback mode, where portrait-oriented photos will now display properly in full-screen view instead of appearing smaller inside the frame. Leica has also added a new setting that limits focus peaking so it only activates when manually focusing with the MF ring, which should make the display feel a bit cleaner during autofocus shooting. The currently selected autofocus mode is now also shown directly in the top status bar, making it easier to quickly check AF settings while shooting.
Autofocus tracking behaviour has also been adjusted slightly. The tracking frame now changes colour depending on detection status, with green indicators showing confirmed focus, while subject tracking itself stays inactive until the camera actually detects a person or animal. Leica has also removed the warning message that previously appeared when powering on the camera with a BP-SCL4 battery installed. Leica updated the colour matrices embedded in DNG files as well, which should improve colour rendering in third-party editing software that uses those embedded profiles. The update also fixes a bug that could occasionally freeze the cameras when switching between profiles with different Leica FOTOS connection settings enabled. Firmware 4.1 is available through Leica’s download section and can be installed either through the Leica FOTOS app or directly via SD card.
You can download the update on Leica’s website here
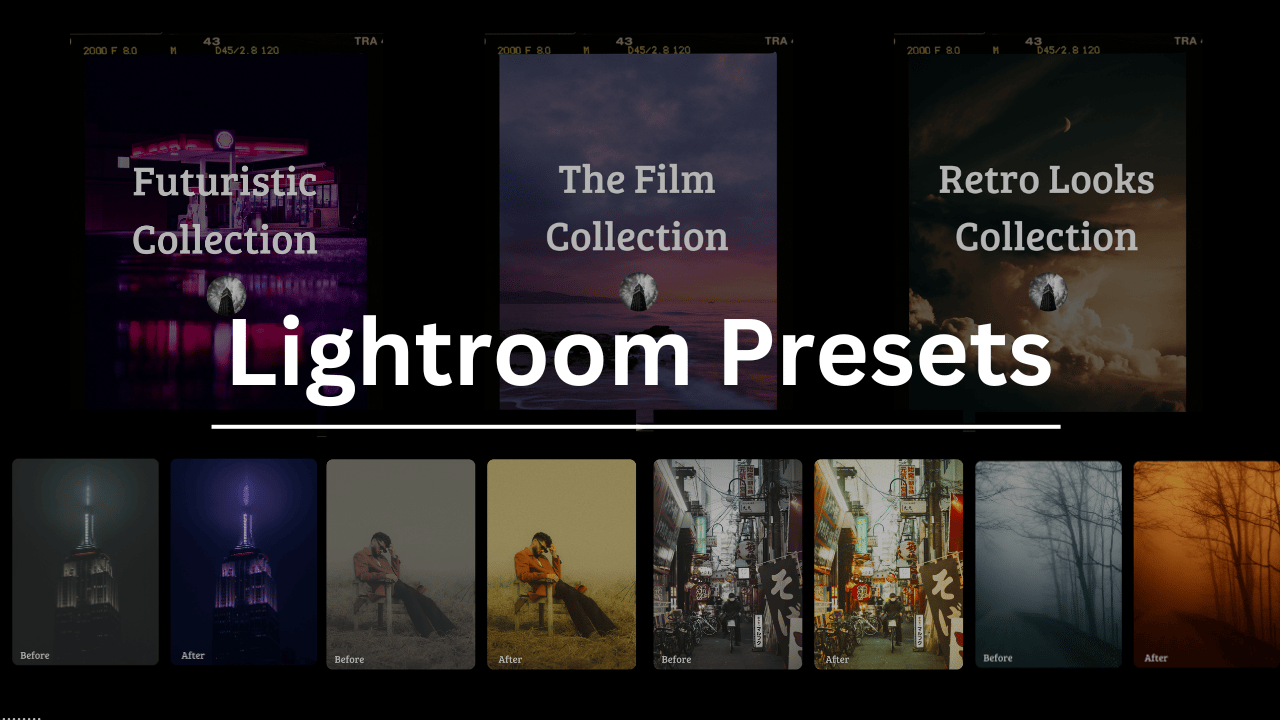
Download The World’s Best Lightroom Presets
Something You Have To Check Out

Speak your PR description, bug reproduction, or Cursor prompt. Wispr Flow auto-tags file names, preserves variable names, and formats everything for immediate paste into GitHub, Jira, or your editor.
No re-typing. No context gaps. No mangled syntax. Works natively inside Cursor, Warp, and every IDE at the system level.
4x faster than typing. 89% of messages sent with zero edits. Used by engineering teams at OpenAI, Vercel, and Clay.
Weekly Photo Technique Exploration
Welcome to a new section of the magazine where every week we will explore a new photography technique from across various photography genres.
This week’s technique: High-Key Lighting Photography

Brad Balfour

Xenia

Ada Lyna

Christian Lambert
What Is High-Key Lighting?
High-key lighting is a style where everything in your photo, so the subject, background, and shadows, is evenly lit and bright. You reduce contrast as much as possible, so there are few (if any) deep shadows. In the end you get a photo that feels light, fresh, minimal in a sense, and often very polished and editorial.
A lot of times you see it in fashion, beauty and product photography, but it also works outdoors, especially for landscapes and nature shots (a lot of photographers like to do high key bird photography for example)
How It Works
The main idea behind high-key lighting is to flood the scene with light. You do not want to just overexposing everything, though, you are trying to balance the light so the whole scene feels bright but still has shape and depth. You are trying to lift shadows rather than erase them (that is the key differentiator, which in turn won’t make your photos look washed out).
The Setup
If you are shooting indoors or in a studio, this is the classic setup:
A big key light, usually a softbox or umbrella in front of your subject.
A fill light or reflector on the opposite side, to brighten any remaining shadows.
A background light, pointed at your white backdrop to make sure it stays pure white instead of grey.
—> Make sure your background is a bit brighter than your subject (around +1 stop). That is what gives you the clean, white look instead of dull greys.
Camera Settings (Indoors)
Aperture: f/4 to f/8
ISO: Keep it pretty low (100–400)
Shutter speed: Match it to your lighting setup (1/125–1/200s if you are using flash).
White balance → Set it manually because auto can sometimes make the whites too warm or grey.
How to Do It Outdoors
Shooting high-key outdoors works best when you work with the right weather and scene.
Overcast days in general are perfect, clouds are like a giant softbox themselves, evening out the light and killing harsh shadows.
Snow, fog, mist gives you instant high-key conditions (so truly optimal).
A simple background/scene is key —> open skies, empty beaches, light-coloured walls, still lakes etc. are perfect.
So to put it in a nutshell, you really want to go for soft, diffused light and lean into minimal compositions/ready made minimal scenes so to say.
Camera Settings (Outdoors)
Aperture: f/8 to f/11 for landscapes, for things like flowers or smaller details open up a bit to around f/4 or f/5.6.
ISO: 100 or 200. Adjust as needed.
Shutter speed: Depends on light conditions. On bright days, you might be around 1/500s or faster. In fog, shade, or softer light, you might go down to 1/125s or 1/250s.
Exposure compensation: +0.3 to +1 EV.
White balance: Again, set it manually.
Metering mode: Use evaluative or matrix metering so the camera reads the whole scene evenly, not just the sky.
What to do in Post
If your lighting is not perfect straight out of camera, you can of course fine-tune it in editing:
Raise exposure and whites slightly.
Drop the contrast a bit to soften the shadows.
Pull down blacks just enough to keep the tones smooth but not totally flat.
But, be very careful not to blow out your highlights! You want the end result to be bright and airy, but you still need texture and subtle details to make it work.
*advertisement (please check it out to support the magazine, it only takes a second and truly helps a lot)
How Jennifer Aniston’s LolaVie brand grew sales 40% with CTV ads

The DTC beauty category is crowded. To break through, Jennifer Aniston’s brand LolaVie, worked with Roku Ads Manager to easily set up, test, and optimize CTV ad creatives. The campaign helped drive a big lift in sales and customer growth, helping LolaVie break through in the crowded beauty category.
The Rest of this Issue is for Premium Subscribers
