📸 The Magazine For Photographers - Bite Size
Read the Latest Photography News and Updates in the Creative Industry in 3-4 minutes or less ;)
In partnership with

Important note: All photography articles are NOT sponsored
The Latest News:
Pergear’s New 50mm f/1.2 APS-C Lens
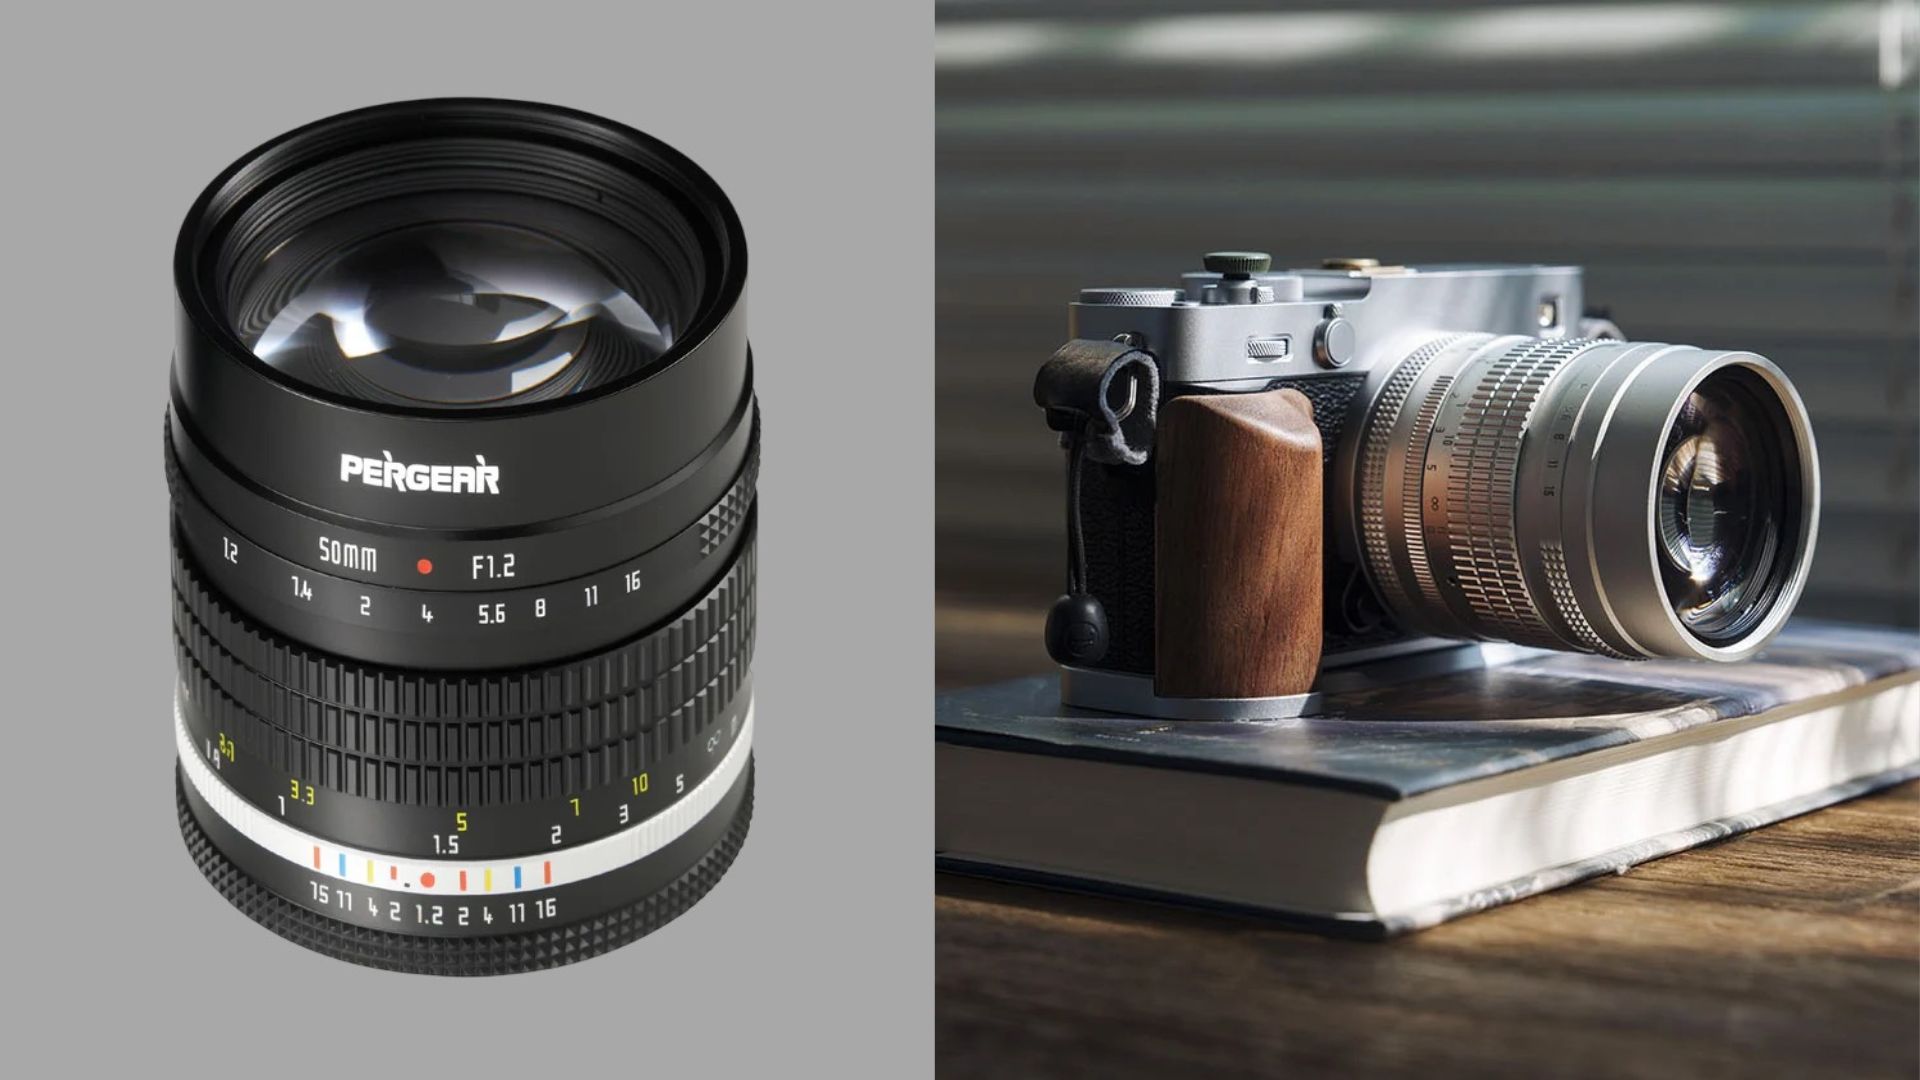
credits: Pergear
Pergear has introduced a new 50mm f/1.2 manual-focus lens available for Fujifilm X, Sony E, Nikon Z, Canon RF, and Micro Four Thirds mounts, and on the outside it carries a very clear 1980s inspired look. Everything is fully mechanical, including the aperture ring and focus ring, and there is no electronic communication with the camera. Pergear also added fluorescent paint to the distance and aperture markings so the controls stay visible when shooting at night or in dim environments.
Inside, the optical design uses seven elements in five groups, including an 11-blade rounded diaphragm intended to keep out-of-focus areas as smooth as possible. With an f/1.2 maximum aperture on APS-C, the lens can push shallow depth-of-field further than most budget primes, though the manual-only nature of the focus system means actual precision will depend entirely on the user. The aperture ring can be de-clicked, which is useful for anyone who needs smooth, silent changes during video shooting. Minimum focusing distance lands at 0.7 meters, which is fairly typical for this class of lens.
Physically, the lens weighs about 360 grams (12.7 ounces) and measures roughly 61 mm (2.4 inches) in length. Pergear doesn’t clearly state whether it takes a 52mm or 55mm front filter, though the mount area suggests it is one of the two. The Pergear 50mm f/1.2 is priced at $99.
You can see full details on Pergear’s website here
The Latest Sony Lens Rumours
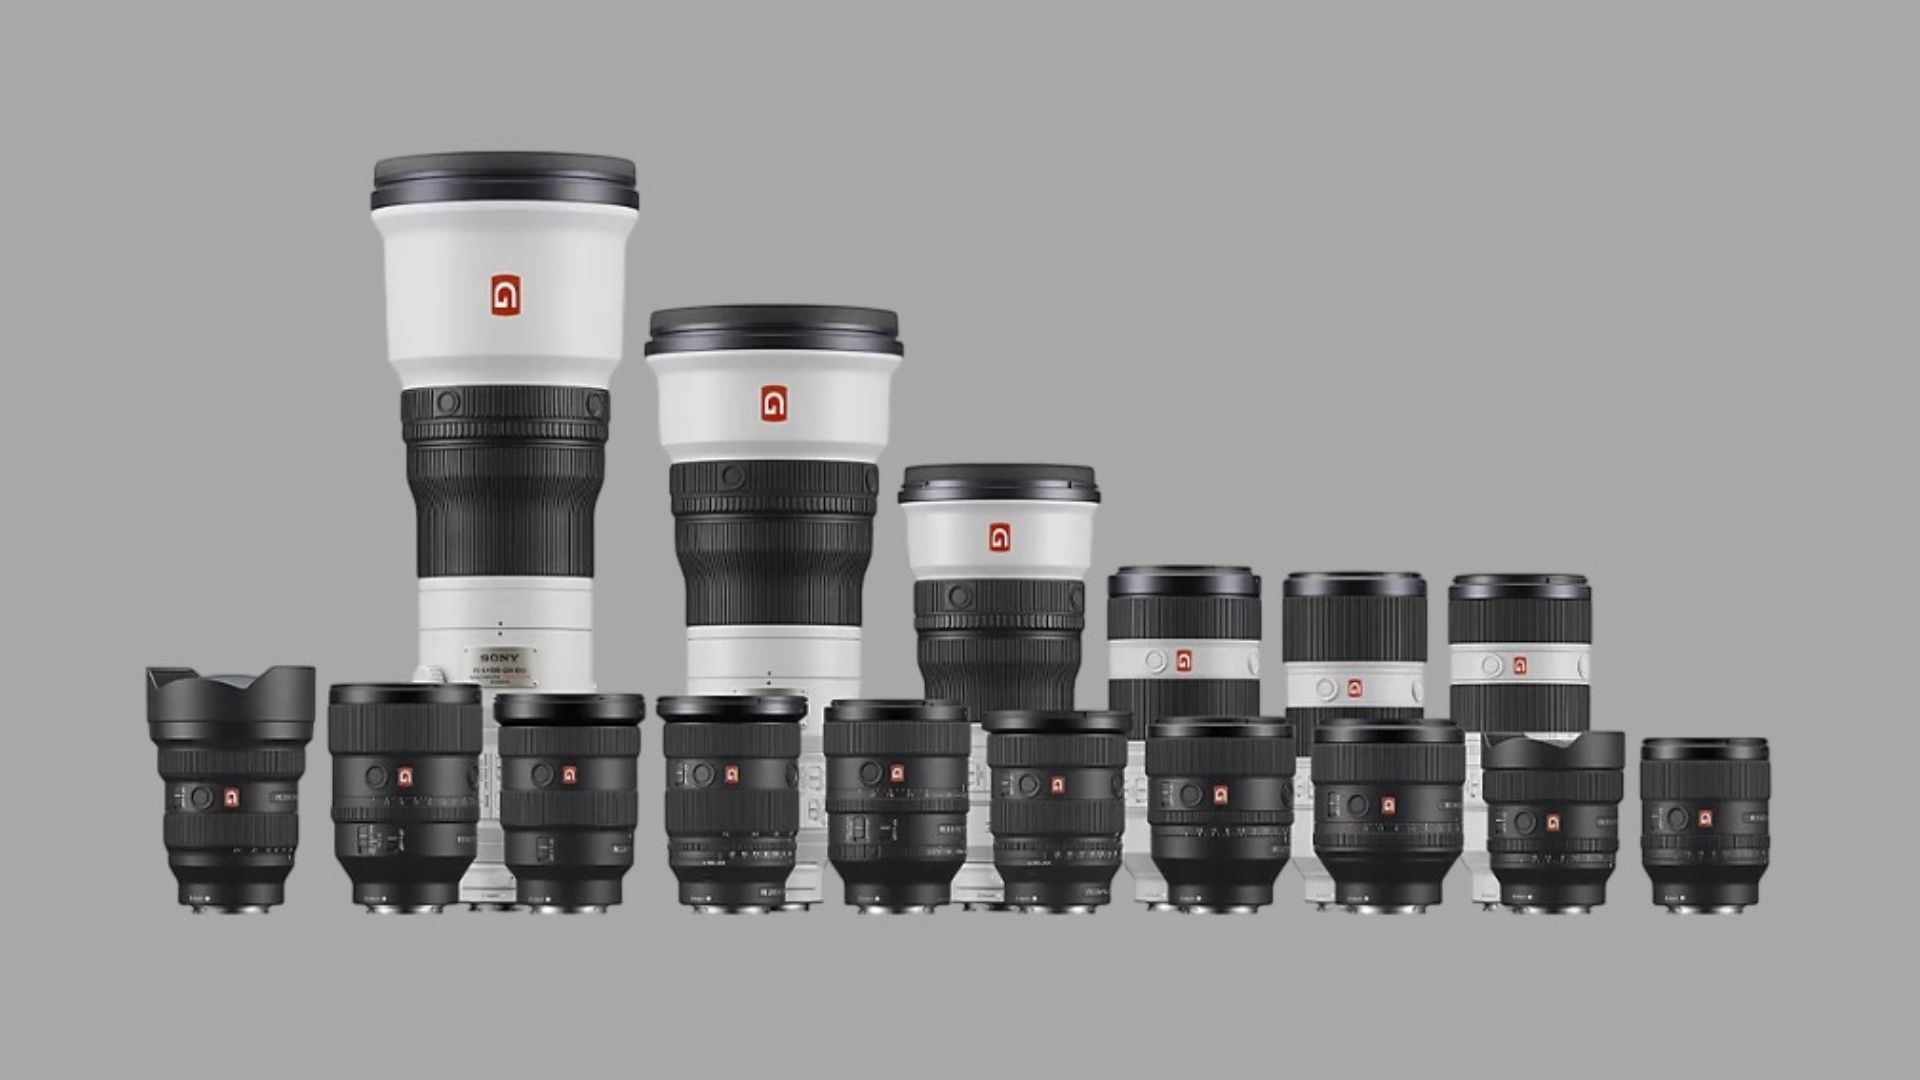
credits: Sony
According to new leaks, Sony’s next fast zoom might be a 16–28mm f/2 GM, which would finally round out the company’s growing set of constant-f/2 zooms. After the 28–70mm f/2 GM in 2024 and the 50–150mm f/2 GM in 2025, most people figured a wide-angle option was coming sooner or later. Rumours have been floating around for weeks, but this is the first time we have gotten an actual focal range. There aren’t any firm specs or timing yet, though, and it doesn’t look like this lens will debut alongside the A7 V.
Sonyalpharumors is guessing the 16–28mm f/2 GM will show up sometime in the next few months, possibly alongside two other rumoured lenses, a 100–400mm f/4 GM and a cheaper 100–400mm G with a variable aperture. With the A7 V reportedly jumping to 30 fps and getting stronger autofocus, a fast 100–400mm would make a lot of sense for sports and wildlife photographers.
Inside the Sony community, some people were quietly hoping for a different wide zoom, something like a 20–50mm f/2, since that would have covered 20–150mm with just two lenses. It is a cool idea, but it also raises questions about what Sony would have to compromise to make it happen. A 16–28mm f/2 is a more predictable move, offering a true ultra-wide perspective while keeping the size and weight under control. For now, all we can do is wait and see how this new f/2 lineup continues to take shape.
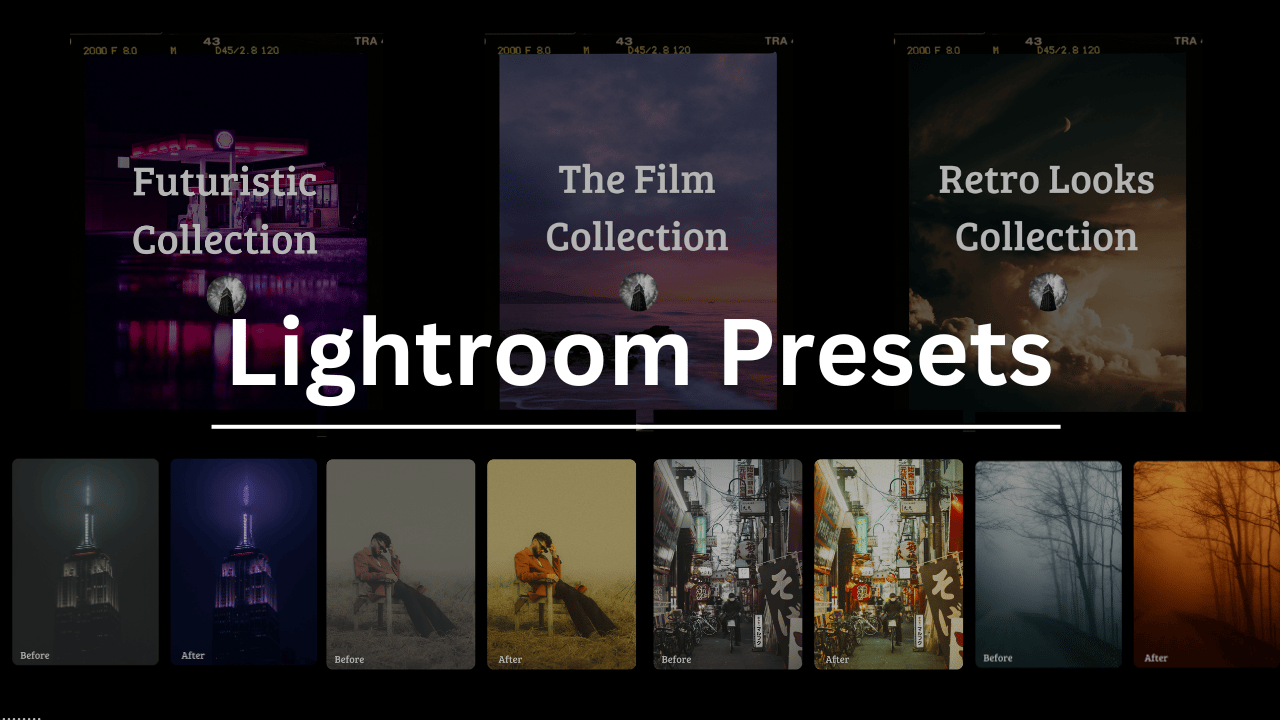
Download The World’s Best Lightroom Presets
Something Worth Checking Out
AI is something that most photographers/creatives see critically, and for absolutely good reason. HOWEVER the fact at the end of the day is that there sadly is no stopping AI, so the best thing you can do is learn how to use AI to your own advantage, whether that be with helping you with daily tasks, writing, editing, your day-job etc.
This is where ‘‘The Rundown AI’’ Newsletter comes in. It will teach you how to use AI to your advantage, increase your work efficiency (something every creative needs) etc.
Feel free to check it out, I read it myself (+ it is completely free) ⬇️
Learn AI in 5 minutes a day

This is the easiest way for a busy person wanting to learn AI in as little time as possible:
Sign up for The Rundown AI newsletter
They send you 5-minute email updates on the latest AI news and how to use it
You learn how to become 2x more productive by leveraging AI
Weekly Photo Technique Exploration
Welcome to a new section of the magazine where every week we will explore a new photography technique from across various photography genres.
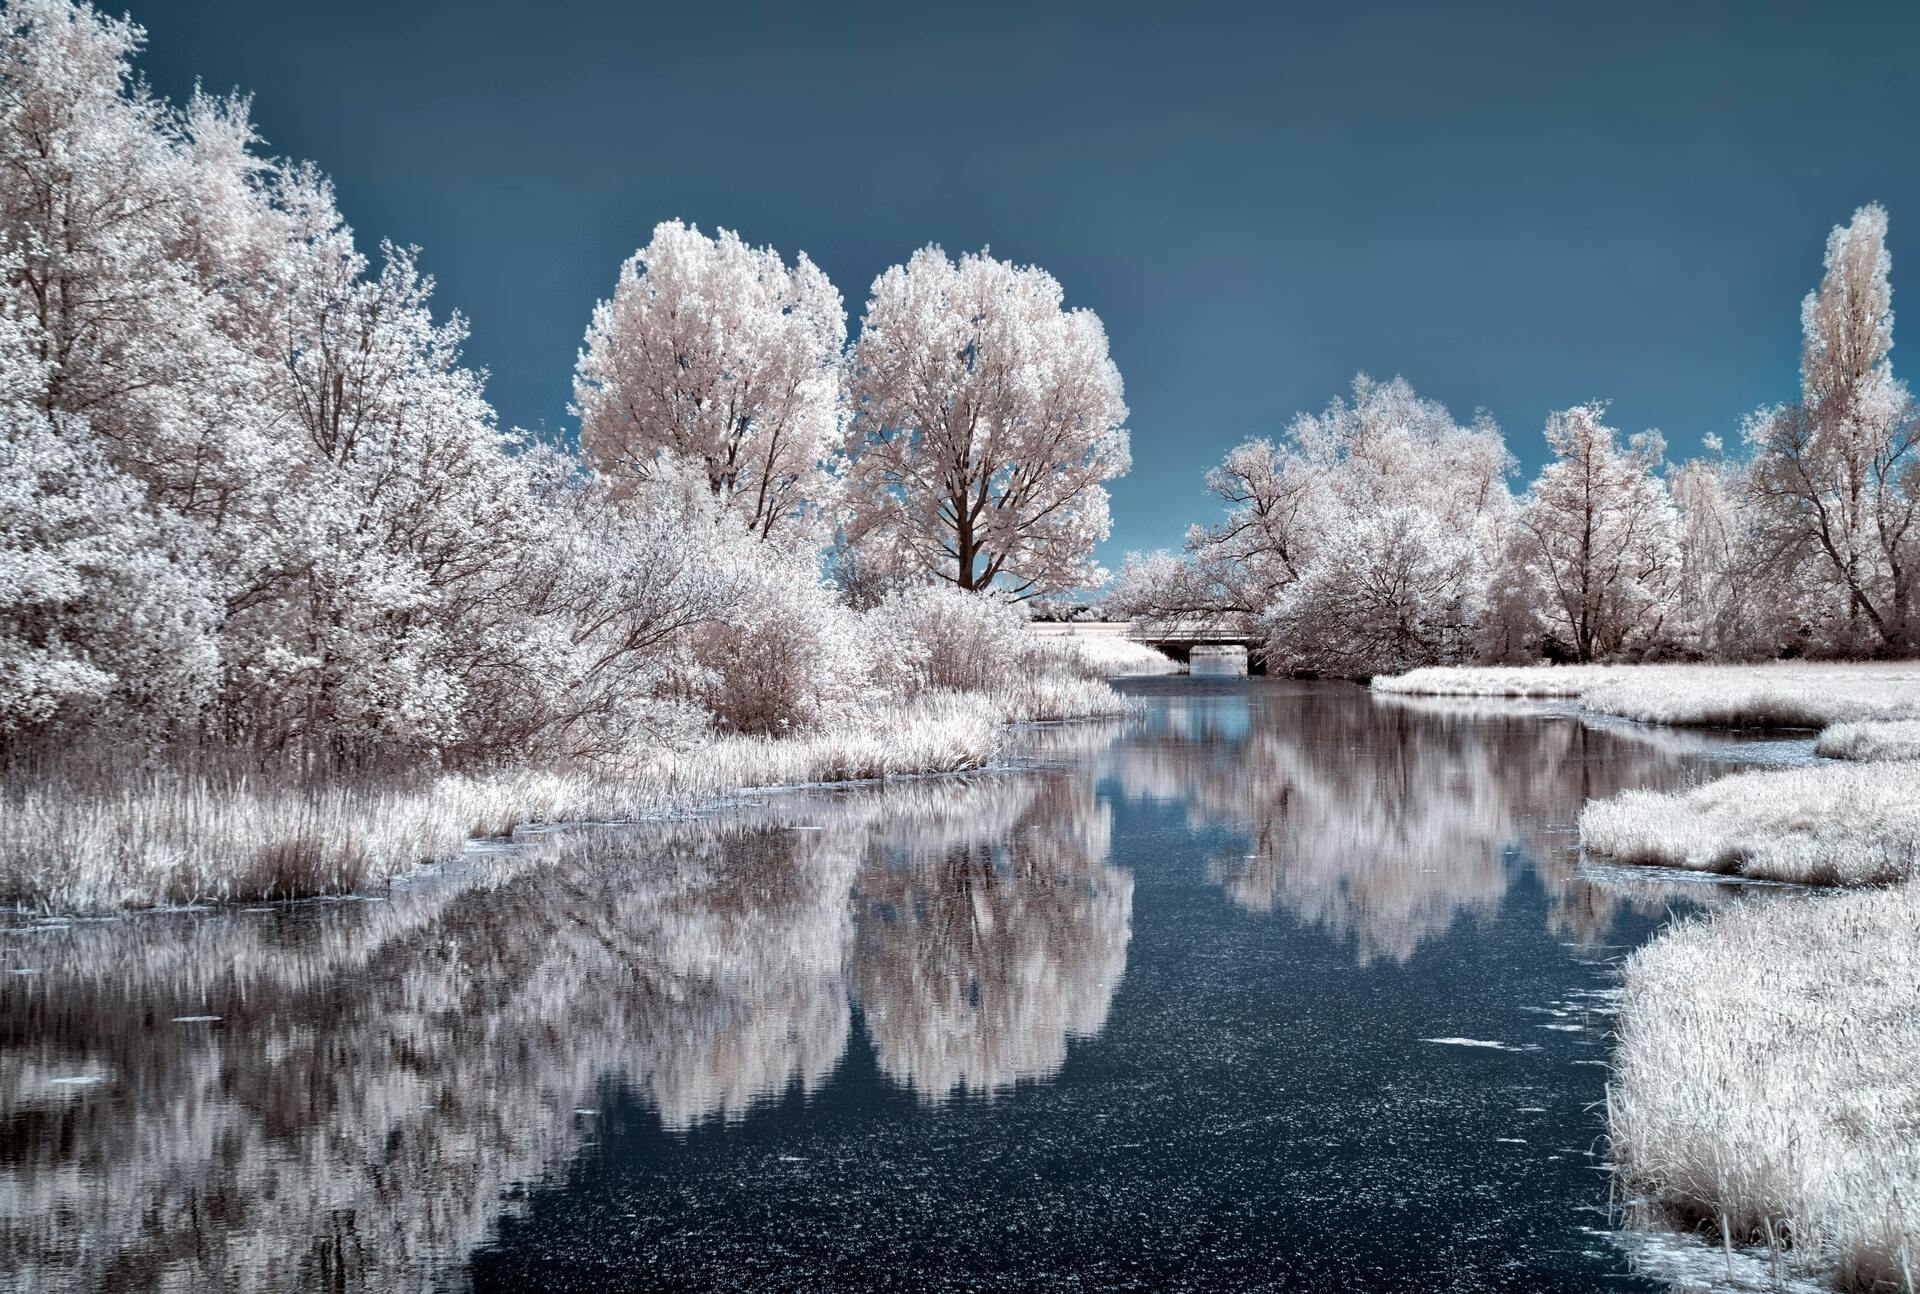
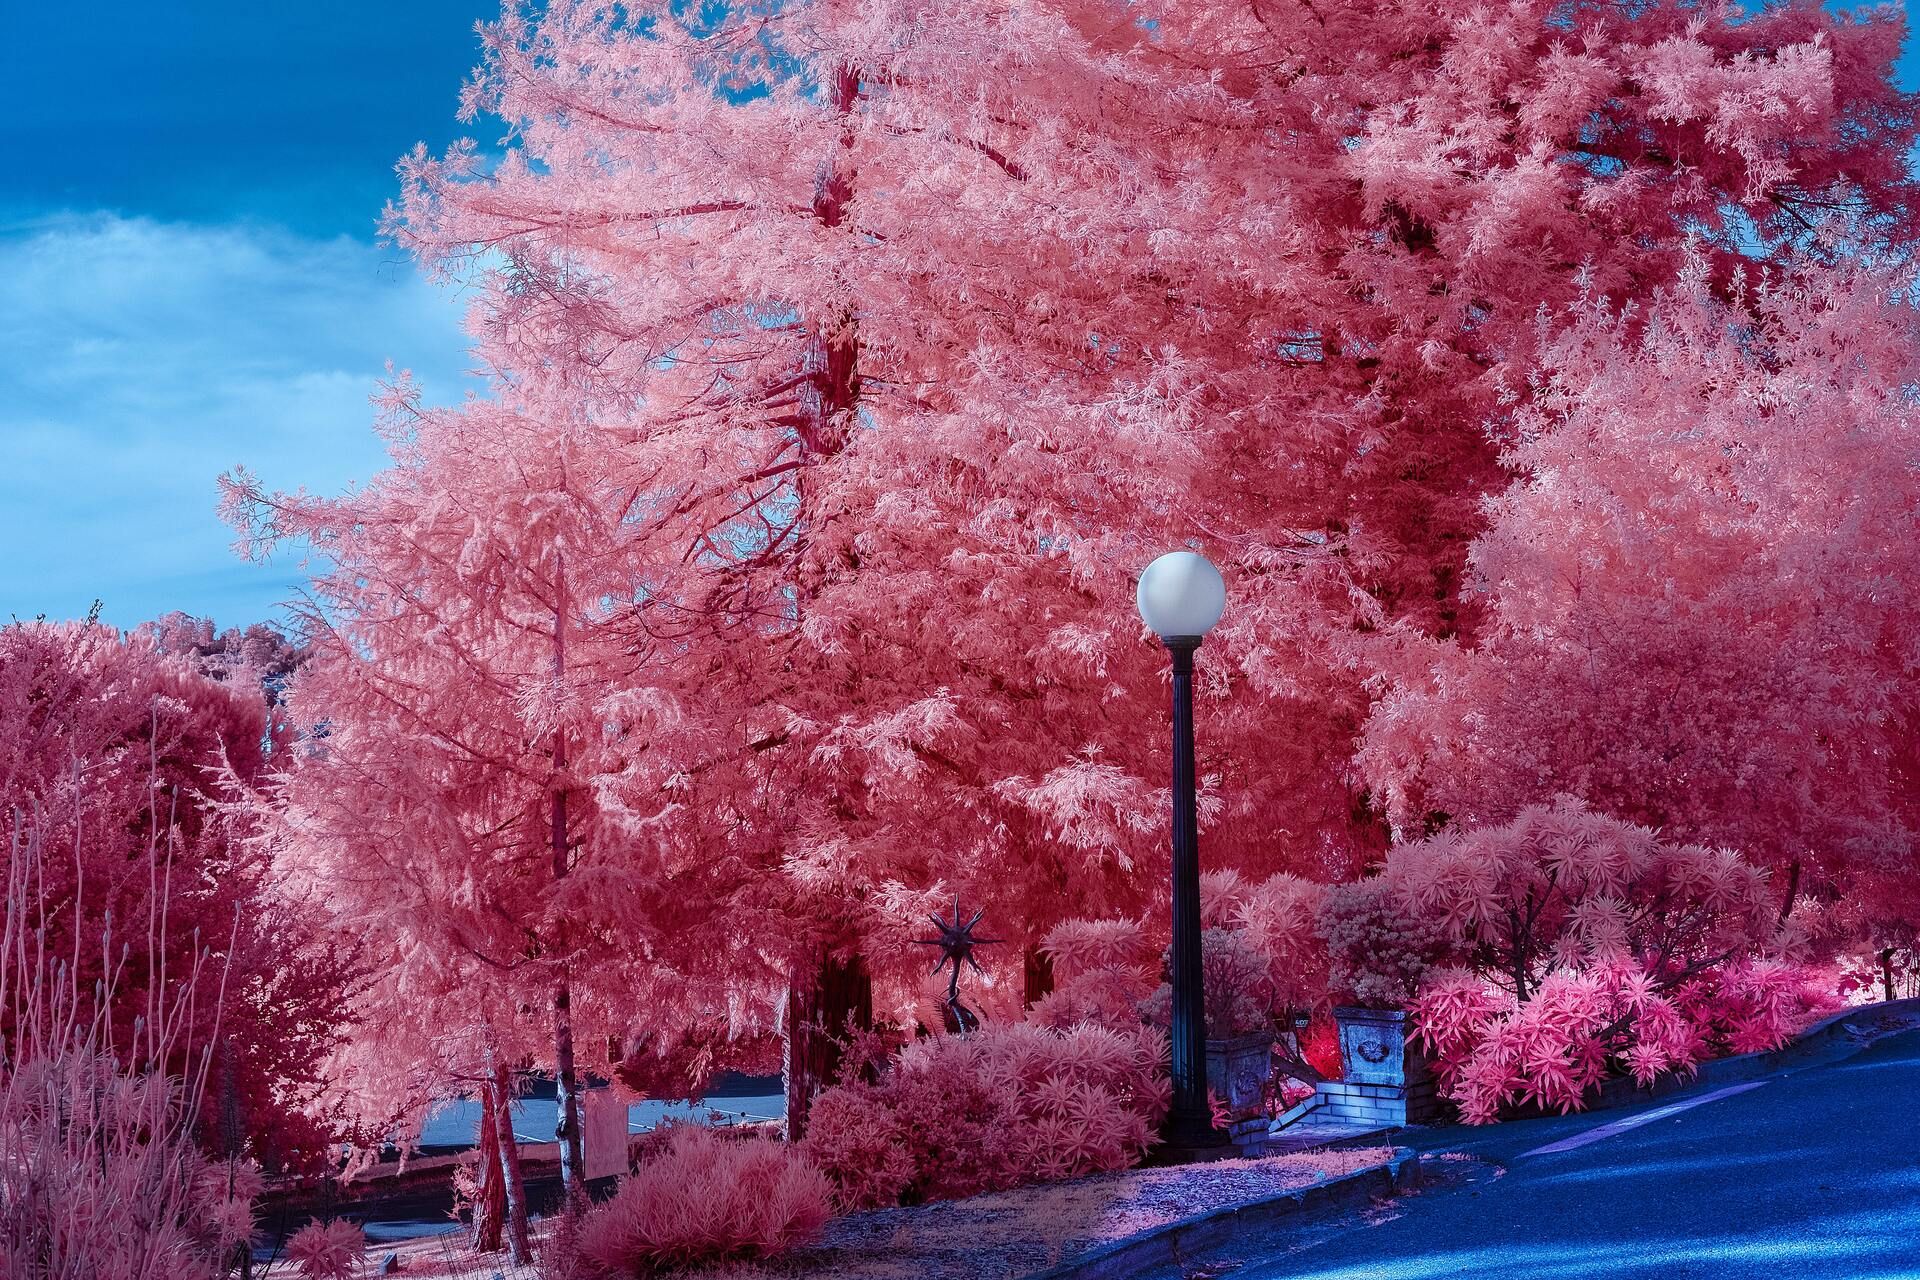
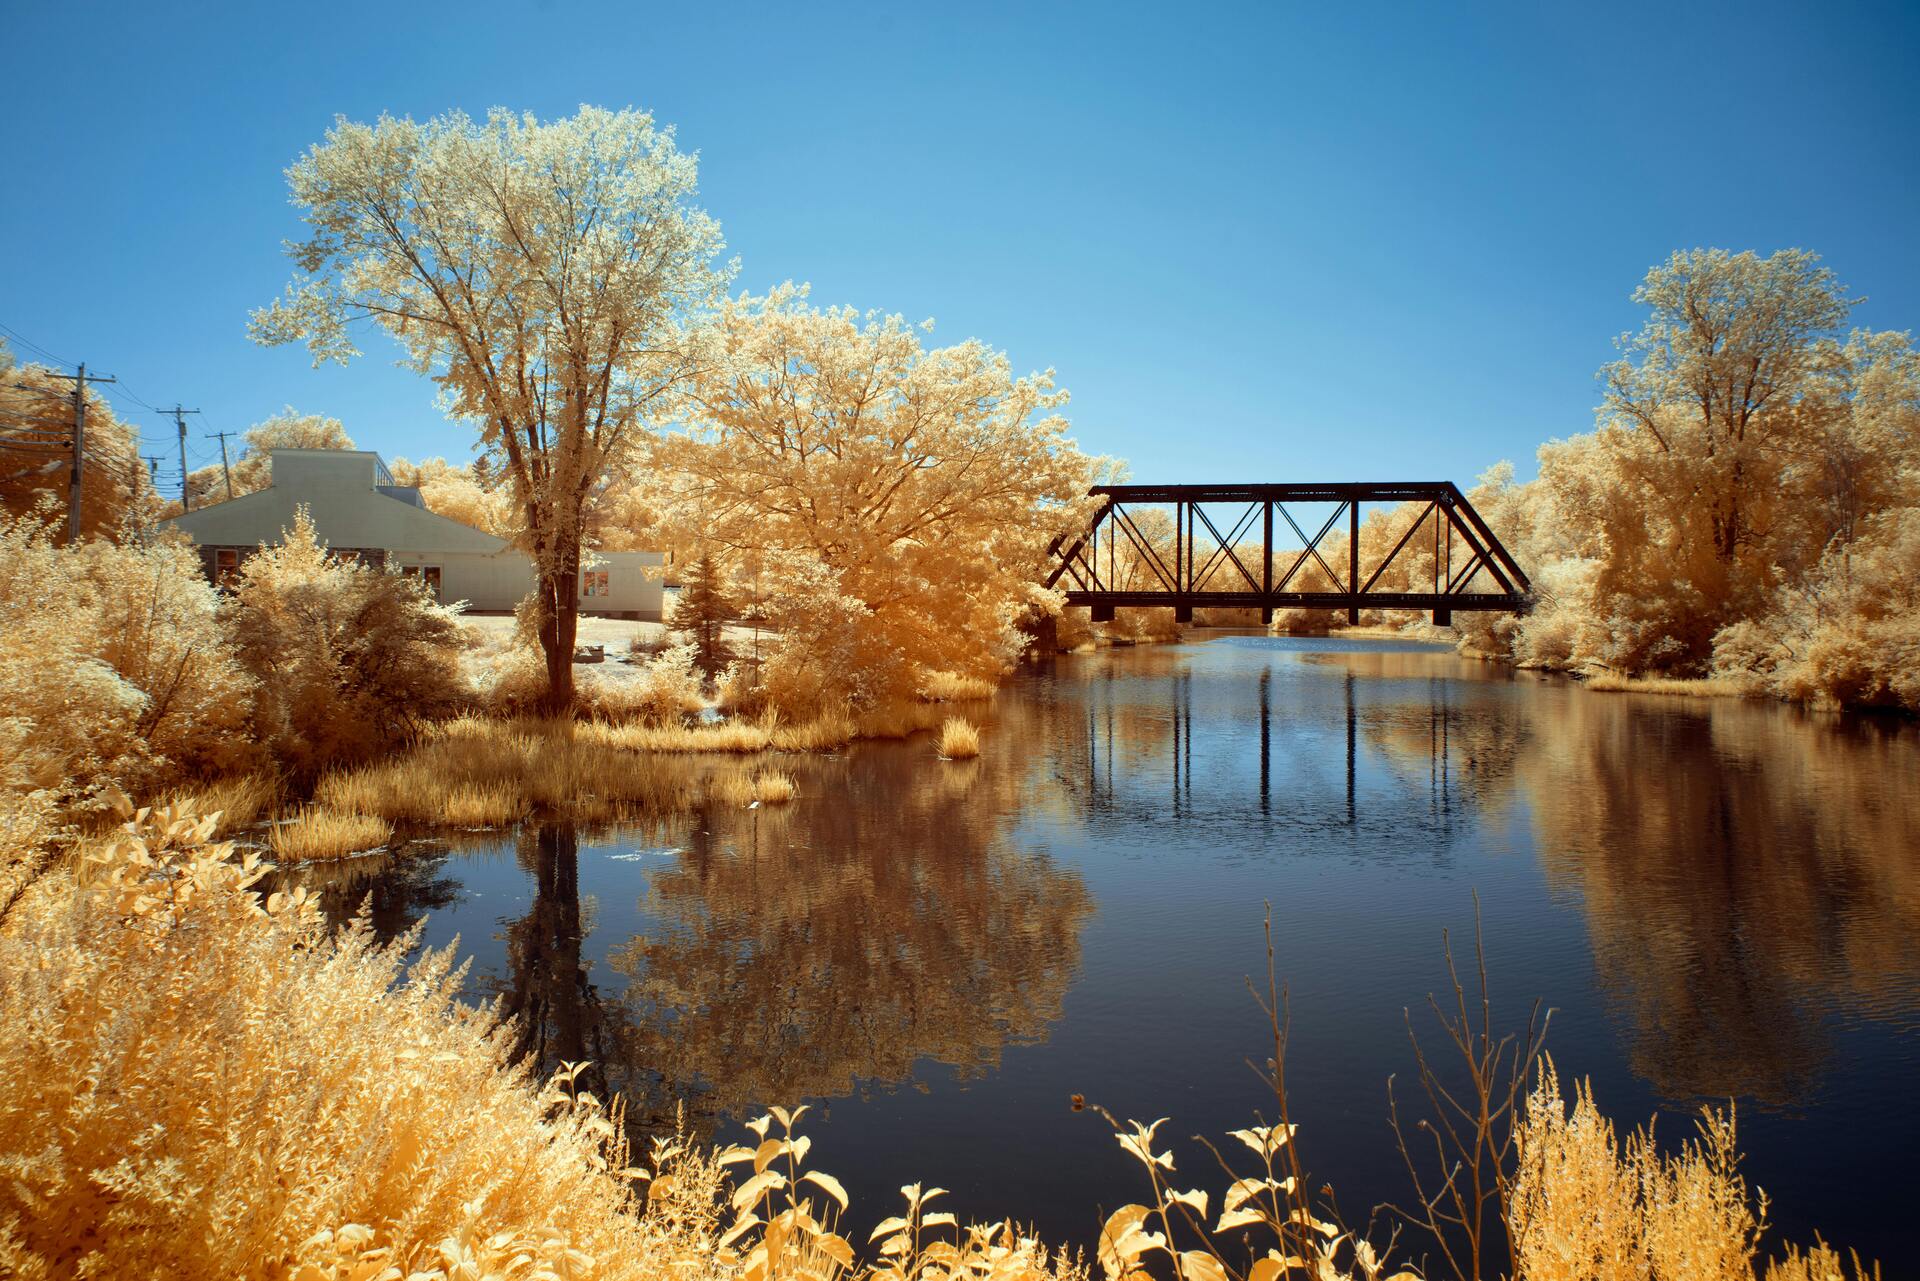
This week’s technique: Infrared Photography
Micheal Alleman
David Elvee
Skyler Eving
What Is Infrared Photography?
Infrared photography captures light that the human eye can’t see, specifically wavelengths just beyond visible red, typically between 700 nm and 900 nm. You are essentially photographing a hidden version of reality and depending on the type of infrared you shoot deciding what colours that invisible world gets to wear (for example —> you can make foliage (leaves) turn white, gold, peach, or pink.))
The Technical Side
Your camera’s sensor is naturally sensitive to infrared light. In fact, it is too sensitive, which is why manufacturers add an IR-cut filter (sometimes called a “hot mirror”) to block infrared wavelengths and keep colours accurate. In order to shoot IR, you either:
Block visible light (using an IR-pass filter on the lens),
or
Remove/replace the IR-cut filter in the camera (a full conversion).
Each one gives you different strengths and headaches.
Two Ways to Shoot Infrared
1. IR Filters (like the 720nm Hoya R72 or the 850nm filters)
This is the entry point let’s say. You screw a filter onto your lens, and it blocks all visible light, letting only infrared wavelengths through.
Pros are: It’s cheap, no permanent modification, great for experimenting
Cons: shutter speeds become really slow, focusing is tricky because IR light focuses at a different point, some lenses produce hotspots (unwanted bright circles in the centre)
2. Full IR Conversion
You send your camera to get the internal IR-cut filter replaced with an IR-pass filter (or removed entirely).
Pros: fast shutter speeds, better sharpness, way more flexible
Cons: It is obviously permanent, costs quite a bit of money, you must commit an entire body to IR only
The Different IR Looks
Infrared comes in several flavours:
720 nm (Classic IR Look)
Foliage goes white
Sky goes dark
Great for false colour IR
Usable for colour swapping (You can swap colours of things such as leaves later)
820–850 nm (Deep Black & White IR)
No colour
Higher contrast
Maximizes the glow in foliage
Very dramatic
665 nm (Colour-leaning IR)
Foliage can get soft yellow, cream, light pink, or peachy
Sky gets blue
Whites aren’t as pure white as 720 nm
More visible light mixes with IR, giving richer tones
Camera Settings
Shutter Speed
Depends wildly on whether you are shooting with an IR filter or a converted camera.
Filter method: 2–30 seconds
Converted body: 1/125s–1/4000s in bright daylight
Aperture
f/5.6–f/11 → You want enough depth to compensate for IR focusing shifts.
ISO
100–400 (IR increases noise compared to visible light, so keep it low).
White Balance
Pretty crucial. Set a custom white balance off grass or foliage.
Focus Adjustments
IR light focuses closer than visible light, that means your visible-light autofocus is ‘wrong’ in IR. Converted cameras usually realign focus.
With filters however, use:
Manual focus
Live View
Or hyperfocal focusing
What Makes a Great IR Scene?
Landscapes with bright foliage (trees, grass, plants)
Clear blue skies
Strong sunlight is essential → IR needs the energy
Unique architecture → stands out against a surreal environment that you can create so to say
The Rest of this Issue is for Premium Subscribers
