📸 The Magazine For Photographers - Bite Size
Read the Latest Photography News and Updates in the Creative Industry in 3-4 minutes or less ;)
In partnership with

Important note: All photography articles are NOT sponsored
The Latest News:
Viltrox’s New Compact Lens Series

credits: Viltrox
Viltrox has kicked off a new series of fast and affordable full-frame prime lenses called Evo, starting with the AF 85mm f/2 Evo for Sony E-mount cameras. The company describes the new lens as a reimagining of the classic portrait focal length. Inside, it features 10 elements in 8 groups, including two extra-low dispersion and two high-refractive index elements to reduce chromatic aberration and maintain sharpness across the frame. The nine-blade aperture and f/2 maximum aperture should deliver smooth background blur while still keeping enough depth for versatile portrait shooting.
At 340 grams and 76 millimeters long, the 85mm f/2 Evo is considerably lighter and smaller than Viltrox’s other 85mm options, such as the f/1.4 Pro (800 grams) or f/1.8 II (484 grams). The trade-off is a slightly slower aperture, but the compact size makes it easier to carry around of course. The lens includes a rubber-sealed mount for basic weather resistance, along with an AF/MF switch, an aperture control ring, and a customisable function button. Build quality appears solid, continuing Viltrox’s trend of offering full metal-bodied lenses.
Autofocus is handled by an STM motor that promises quick and quiet focusing for both photo and video use, with full support for Sony’s eye- and face-detection systems. The minimum focusing distance is 0.74 meters, giving a maximum magnification of 0.13x, about what you would expect for an 85mm portrait lens. The Viltrox AF 85mm f/2 Evo is available for Sony full-frame E-mount cameras at a price of $275.
You can see full details and sample shots on Viltrox’s website here
The Latest Leica M EV1 Rumours
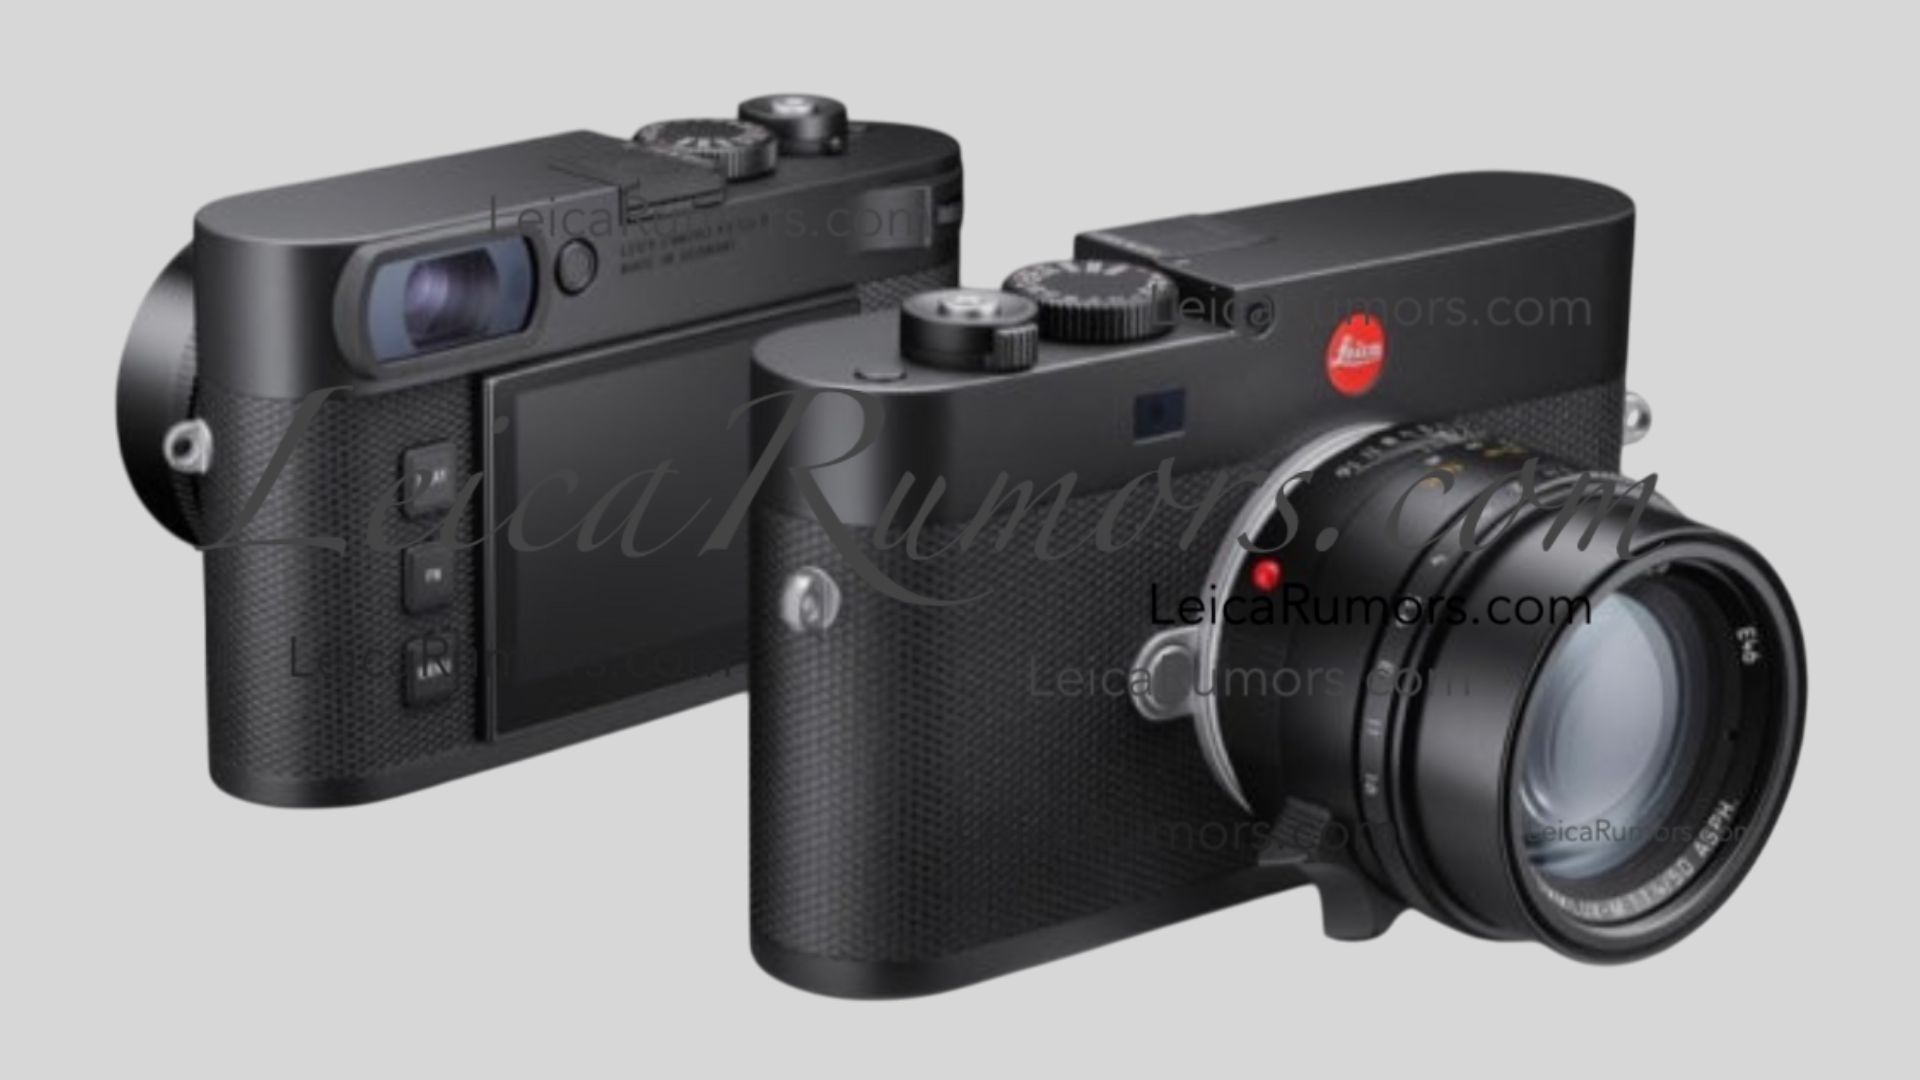
credits: Leicarumors
According to current rumours, Leica is preparing to announce the long-anticipated M EV1 on October 23, marking a major shift for the M lineup, the company’s first model to drop the traditional rangefinder entirely in favour of an electronic viewfinder. It is a significant move for Leica, given that the rangefinder has been central to the M system for over 70 years. The name has been the subject of speculation for months, with earlier leaks suggesting “M-V” or “M11-V,” but the latest reports point to “M EV1,” hinting that Leica might be planning a new sub-line of EVF-based M cameras rather than just a single release. Adding to the buzz, the first leaked image (shown above) of the M EV1 has surfaced online, giving us an early look.
If all current leaks are accurate, the M EV1 will feature a 0.5-inch OLED EVF with 5.76 million dots and 0.76x magnification, similar to what is used in Leica’s other high-end models. The electronic viewfinder is expected to include standard manual focus aids, diopter correction, and live exposure preview. The design follows the minimalist style of the M11-P, but with no rangefinder window, no traditional ISO dial, and a new diamond-pattern leather finish. Leica is also said to have reworked the front controls, replacing the image field selector with a new lever that doubles as a customisable function button.
Inside, the camera is expected to borrow much of its tech from the M11, including the 60-megapixel BSI full-frame sensor with Leica’s triple-resolution system (60, 36, or 18MP), the Maestro III processor, and 64GB of internal storage. It will likely support content authenticity credentials, continuing Leica’s push toward image verification features. The rumoured price is around €7,950.
Download The World’s Best Lightroom Presets

Something You Need To Check Out
Growing on Social Media, especially as a Photographer/Creative is hard. This is where Hubspot’s Social Media Playbook comes in. It includes thousands of strategies used by social media marketing experts that can help you boost your own social media presence.
Make sure to check it out ⬇️

Is your social strategy ready for what's next in 2025?
HubSpot Media's latest Social Playbook reveals what's actually working for over 1,000 global marketing leaders across TikTok, Instagram, LinkedIn, Pinterest, Facebook, and YouTube.
Inside this comprehensive report, you’ll discover:
Which platforms are delivering the highest ROI in 2025
Content formats driving the most engagement across industries
How AI is transforming social content creation and analytics
Tactical recommendations you can implement immediately
Unlock the playbook—free when you subscribe to the Masters in Marketing newsletter.
Get cutting-edge insights, twice a week, from the marketing leaders shaping the future.
Weekly Photo Technique Exploration
Welcome to a new section of the magazine where every week we will explore a new photography technique from across various photography genres.
This week’s technique: Time Stacking Photography
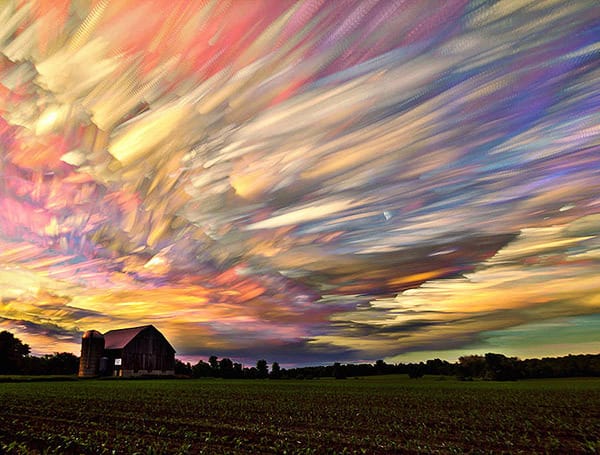
credits: Matt Molloy (IG: @mattmolloyphoto)
What Is Time Stacking Photography?
Time stacking is what happens when you take a bunch of photos of the same scene over a period of time and then combine them later into one single image. Instead of just one single moment, you get a picture that shows movement/change. It is almost like long exposure, however instead of leaving your shutter open for a few minutes or hours, you take hundreds of quick shots and “stack” them together afterward.
How It Works
This is the basic idea, laid out chronologically:
You set your camera on a tripod and shoot a time-lapse, one frame every few seconds or minutes.
Later, you take all those photos and blend them together.
The stacking merges the changes from each image (common subjects are clouds but also stars) into one composite photo that looks like a long exposure just a bit more surreal and painterly.
What You Need
A camera that can shoot in manual mode.
A tripod (absolutely essential).
An intervalometer or built-in time-lapse mode to automatically take shots over time.
Editing software with a stacking program/feature —> Photoshop, StarStaX etc.
Setting Up Your Shot
Make sure to lock your set up down. The camera should not move at all between shots, definitely use a solid tripod and turn off image stabilisation.
Manual mode is a must. Exposure, focus, and white balance —> keep it consistent. Any change between shots will cause flicker or ghosting.
Pick a subject that works for this. Time stacking works best when something in your scene is changing ‘slowly’: clouds, stars, water are the most popular choices.
Shoot more than you think! You will usually need at least 50–200 photos, sometimes way more. If you are going for stars, it might be 500+ photos.
Good starting settings (for daytime clouds, like I mentioned, the most popular subject for this technique): ISO 100, Aperture f/8, Shutter around 1/100s, one photo every 3–5 seconds for about 15–30 minutes
The Stacking Part
Once you have your shots, here is how to edit them:
Load your images into Photoshop or StarStaX
Set your layer blending mode to Lighten, this keeps the brightest parts from each frame, which is what makes trails and streaks appear.
Merge or flatten once you are happy with the result.
Lastly, adjust colour, contrast etc. + clean up any weird spots/transitions.
Keep in mind → how many of your photos you end up blending will give you a different look → fewer photos for subtle motion or a lot/all of them for the complete blended surreal look.
Classic subjects/shooting Ideas
Cloud trails, they smear across the sky, ends up looking very painterly.
Star trails, another classic
Sunset blending, also popular —> shoot every few minutes of the sunset to show the full colour shift.
Tips That Help
Always shoot in RAW (always shoot in RAW anyways ;)) so you have flexibility when editing.
Try to avoid windy days if your tripod isn’t like rock solid, even tiny movement can ruin the stack.
Use manual white balance so the colours don’t shift between pictures.
The Rest of this Issue is for Premium Subscribers
